

Learning how to take a screenshot in Windows 10 is essential for every user. This guide covers all methods with simple steps.
Use Windows+Shift+S for quick snips, PrtScn for full screens, or Windows+PrtScn for auto-saving. Each method works perfectly for work, school, or personal use.
For gamers, Windows+Alt+PrtScn captures gameplay. Troubleshoot issues with our pro tips. Now master screenshots like a pro!
Method 1: Snip & Sketch (The Most Versatile Way)

Introduced in Windows 10, Snip & Sketch is the modern replacement for the old Snipping Tool and offers the most flexibility.
How to Use Snip & Sketch
- Press Windows + Shift + S simultaneously
2.Your screen will dim, and a toolbar appears at the top
3. Choose your capture mode:
- Rectangular Snip (drag to select an area)
- Freeform Snip (draw any shape)
- Window Snip (capture a specific app window)
- Fullscreen Snip (entire display)
4.Your screenshot automatically copies to clipboard
5. Paste (Ctrl + V) into any application
6. Click the notification to edit in Snip & Sketch
Why It’s Great:
Lets you capture exactly what you need
Built-in editing tools (pen, highlighter, crop)
Works well with touchscreens
Method 2: Print Screen (The Classic Approach)
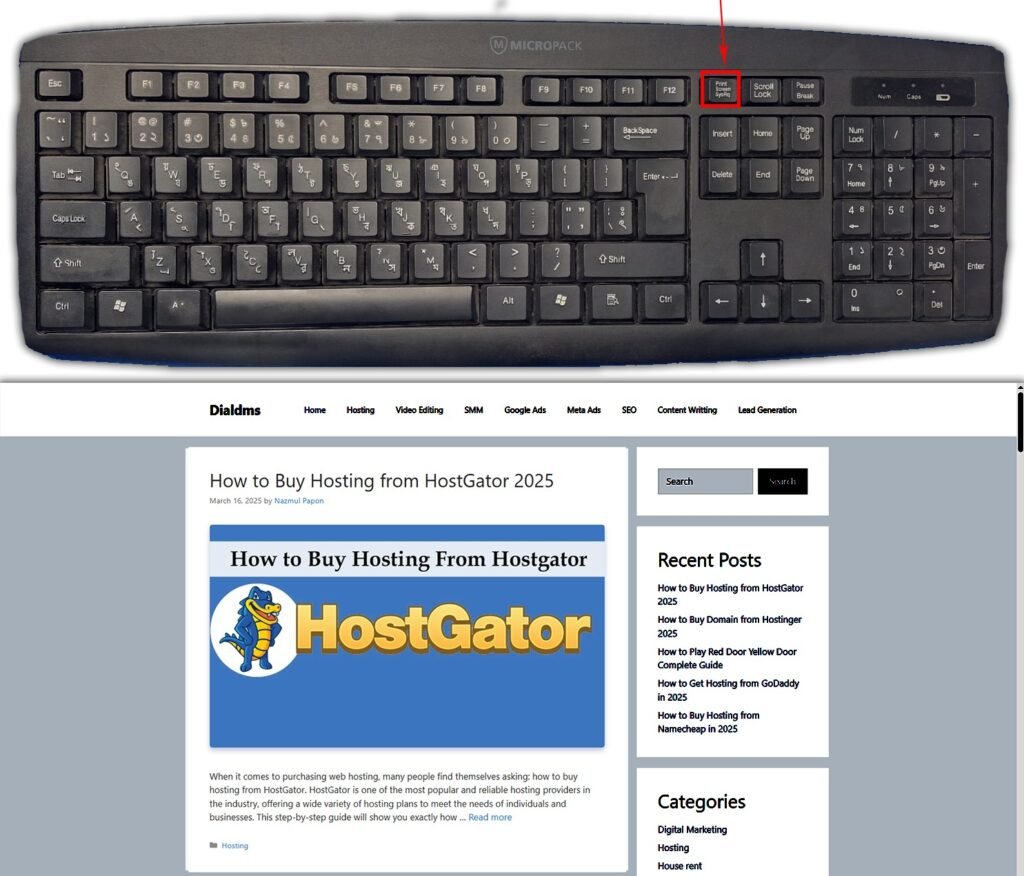
The Print Screen method has been around since early Windows versions and still works perfectly.
Basic Print Screen Method:
- Press the PrtScn key (may be labeled PrtSc, PrntScrn, etc.)
- Open Paint, Word, or any image editor
- Press Ctrl + V to paste
- Save the file (Ctrl + S)
Pro Tip: Use Alt + PrtScn to capture only the active window instead of your entire screen.
Note for Laptop Users: You might need to press Fn + PrtScn as the Print Screen key often shares functionality on laptops.
Method 3: Windows + Print Screen (Automatic Saving)

This is the fastest method when you need to take multiple screenshots quickly.
How It Works:
- Press Windows + PrtScn together
2.Your screen will briefly dim to confirm the capture
3. Find your screenshots in:
This PC > Pictures > Screenshots
Advantages:
✓ No need to paste or save manually
✓ Perfect for capturing a series of screens
✓ Files are automatically numbered
Bonus Methods & Advanced Tips
Game Bar Screenshots (For Gamers)
- Press Windows + G to open Game Bar
2.Click the camera icon or press Windows + Alt + PrtScn
3 Find your screenshots in:
Videos > Captures
Touchscreen Devices
If you have a touchscreen or tablet:
1.Press Power + Volume Down buttons simultaneously
2.The screenshot will save automatically
Creating Scrolling Screenshots
3 .Windows doesn’t have built-in scrolling screenshots, but you can use:
Snagit (paid)
ShareX (free)
PicPick (free)
Where Are My Screenshots Saved?
This depends on which method you used:
| Method | Location |
| Windows + PrtScn | Pictures > Screenshots |
| Snip & Sketch | Clipboard (paste first) |
| Game Bar | Videos > Captures |
| Print Screen | Clipboard only |
Troubleshooting Common Issues
Problem: Print Screen isn’t working
Solution:
- Try Fn + PrtScn on laptops
- Check Settings > Ease of Access > Keyboard
- Update your keyboard drivers
Problem: Can’t find saved screenshots
Solution:
- Search for “Screenshots” in File Explorer
- Check your OneDrive folder if syncing is on
Problem: Screenshots are blurry
Solution:
- Use PNG format instead of JPEG
- Check your display resolution settings
Editing and Annotating Screenshots
After taking a screenshot, you might want to:
- Add arrows or text
- Blur sensitive information
- Crop unnecessary parts
Best Free Tools:
- Snip & Sketch (built-in)
- Paint 3D (also built-in)
- Greenshot (more advanced features)
Sharing Screenshots Quickly
Instead of attaching files, try these methods:
- Windows Cloud Clipboard (Win + V)
- OneDrive direct sharing
- Snipping Tool’s new share button
Keyboard Shortcut Cheat Sheet
| Action | Shortcut |
| Rectangular snip | Win + Shift + S |
| Full screen to clipboard | PrtScn |
| Active window to clipboard | Alt + PrtScn |
| Full screen to file | Win + PrtScn |
| Game screenshot | Win + Alt + PrtScn |
Read More : How to Buy Hosting from Namecheap in 2025
Choosing the Right Method
Here’s when to use each method:
- For precision captures → Snip & Sketch
- Quick full-screen shots → Windows + PrtScn
- When you need to edit → Print Screen + Paint
- Gaming screenshots → Game Bar
Final Thoughts
Now you know all the ways how to take a screenshot in Windows 10 like a pro. Whether you need a quick capture or an edited annotated image, Windows 10 has you covered. The best method depends on your specific needs, so try them all to see which works best for your workflow.
Remember:
- Snip & Sketch is best for most users
- Windows + PrtScn is fastest for multiple shots
- Print Screen remains the universal fallback
