

In the fast-paced world of web hosting, selecting the right provider is crucial for the performance, security, and growth of your website. If you’re wondering how to buy hosting from Hostinger, you’re in the right place. Hostinger, a leading global hosting provider, offers reliable, fast, and secure hosting plans that are perfect for individuals and businesses alike. In this guide, we will walk you through the process of buying hosting from Hostinger in a simple, easy-to-follow manner. Whether you’re a first-time website owner or switching hosting providers, you’ll find this article helpful.
Why Buy Hosting from Hostinger?
Before diving into the step-by-step process, let’s quickly review the reasons why you should choose Hostinger for your hosting needs:
- Performance: With cutting-edge LiteSpeed servers and global data centers, Hostinger ensures fast loading speeds for visitors from anywhere in the world.
- Security: Hostinger prioritizes website security with features like DDoS protection, SSL certificates, and malware scanning.
- Uptime Guarantee: Hostinger offers a 99.9% uptime guarantee to keep your site online and accessible to users at all times.
- 24/7 Support: Their dedicated customer success team is available 24/7 to assist with any questions or issues you may encounter.
- Affordable Pricing: Hostinger offers budget-friendly hosting plans, often including additional perks like free domains, email accounts, and an AI-powered website builder.
- 30-Day Money-Back Guarantee: If you’re not satisfied with the service, Hostinger offers a risk-free 30-day money-back guarantee.
How to Buy Hosting from Hostinger in 4 Simple Steps
The process of purchasing hosting from Hostinger is straightforward. Here’s a breakdown of the steps:
1.Choose Your Hosting Plan

Start by visiting the Hostinger website. Here, you’ll find several hosting plans tailored to different needs. To make an informed decision, consider the following factors:
- Web Hosting: Ideal for small-to-medium websites such as blogs, personal sites, and small businesses.
- Cloud Hosting: Best for businesses that need enhanced performance and reliability with a scalable hosting solution.
- Managed WordPress Hosting: Optimized for WordPress websites, this plan offers automatic updates, security, and faster performance.
- VPS Hosting: A great choice for users looking for more control over their hosting environment. Ideal for developers and advanced users.
Take a moment to review the plans and select the one that best fits your needs. If you’re unsure about which plan to choose, Hostinger offers resources and guides to help you decide.
2.Select the Hosting Period
After selecting your hosting plan, you’ll be directed to the Cart page, where you’ll choose the hosting period. Hostinger offers various subscription lengths, including:
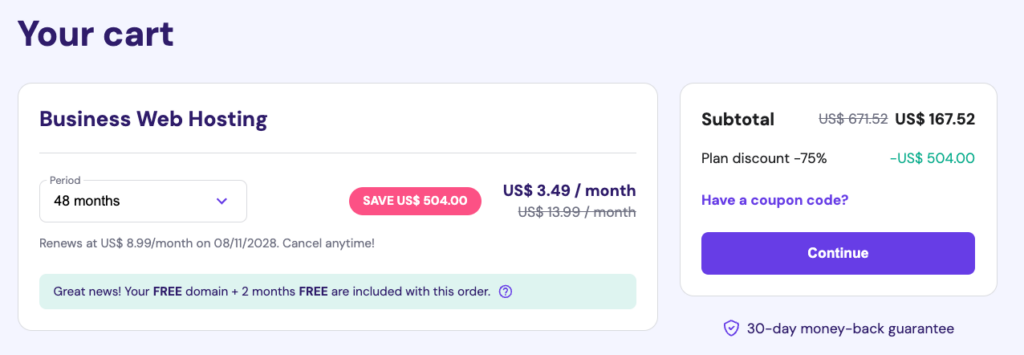
- 1-month
- 12-month
- 24-month
- 48-month
Opting for longer-term plans usually results in significant savings. However, if you’re unsure about committing, starting with a shorter plan is also a viable option. You can always upgrade or extend your plan later.
3.Create a Hostinger Account
If you don’t already have a Hostinger account, you’ll need to create one. This will allow you to manage your hosting plan and access additional services. If you already have an account, simply log in.
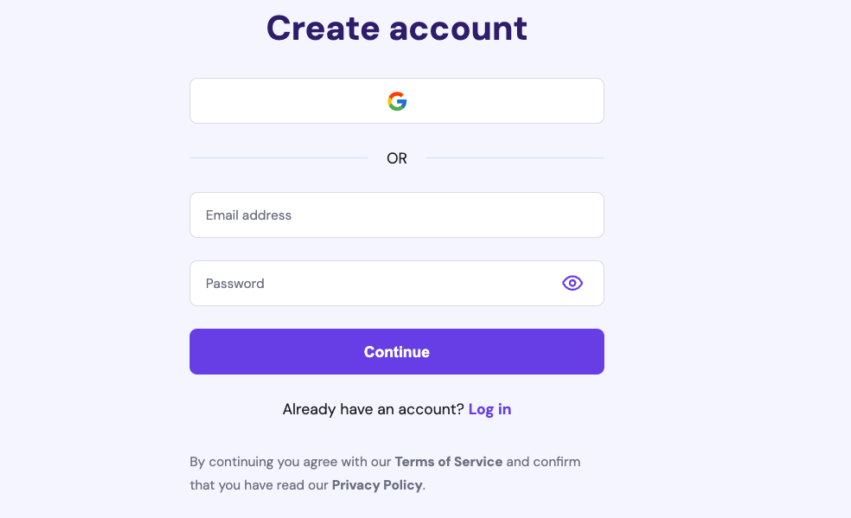
Creating an account is easy – you’ll need to provide basic information, including your email address and a password. Hostinger also offers social login options for quicker access.
4.Make the Payment
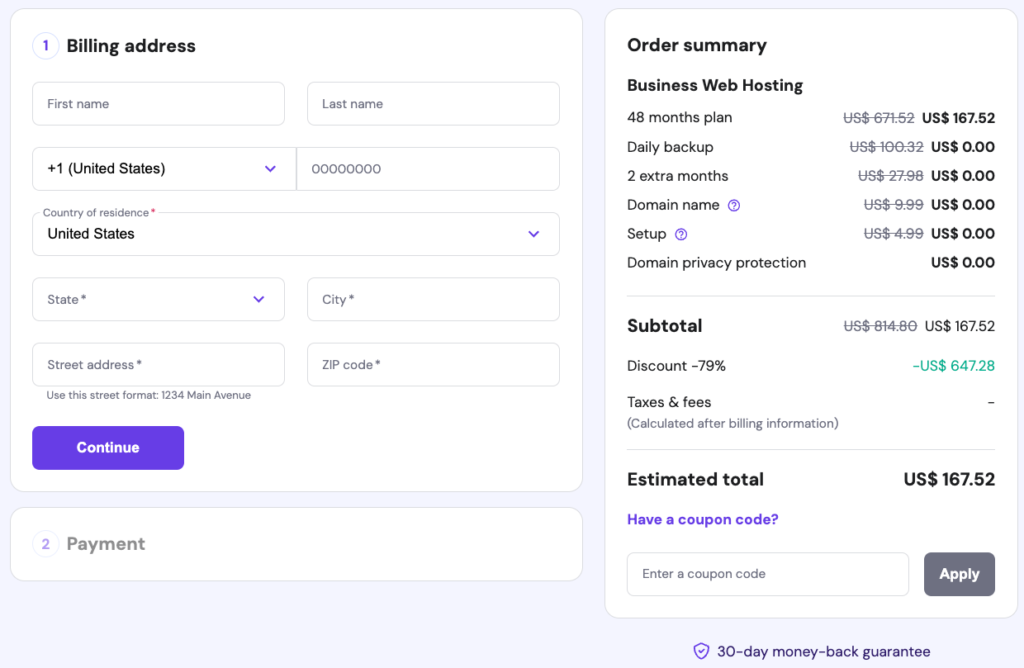
Once your account is created, you’ll proceed to the payment page. Hostinger offers multiple payment methods, including credit cards, PayPal, and other popular e-wallets like Google Pay and Apple Pay. Simply enter your payment details and complete the transaction.
What to Do After Buying Hosting from Hostinger
Once you’ve completed the purchase, you’re almost ready to start building your website. Hostinger provides an onboarding process to help you set up your site or migrate an existing one.
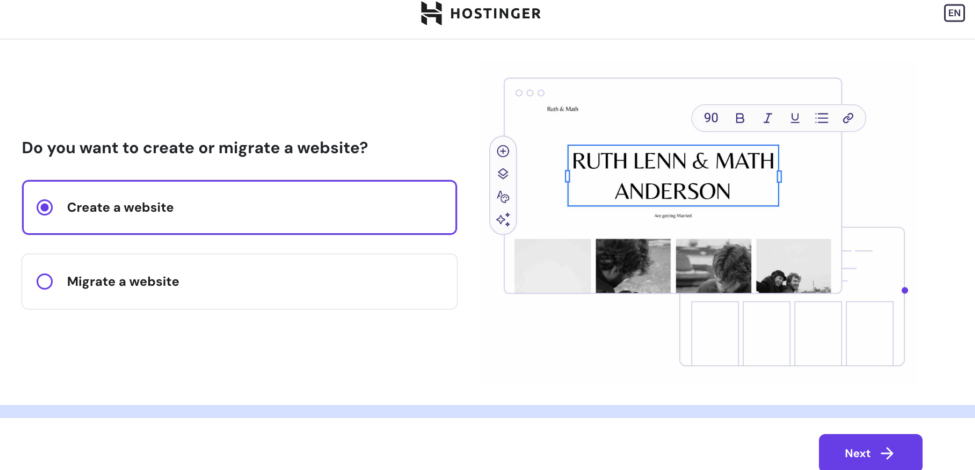
Create a New Website
If you’re building a new website, Hostinger gives you two options to choose from:
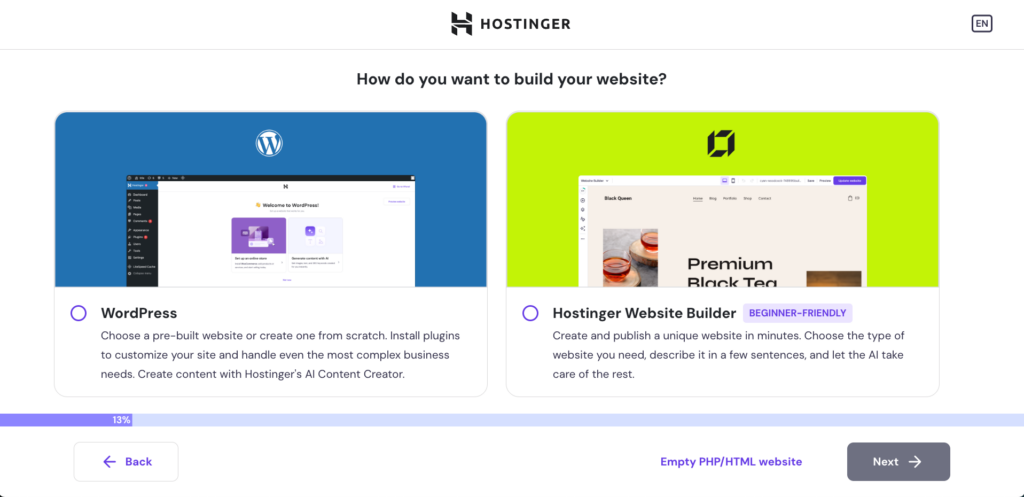
- WordPress: If you’re looking for full control and customization, WordPress is the best choice. Hostinger’s managed WordPress hosting plans are optimized for performance and include additional features like LiteSpeed acceleration and automatic backups.
- Hostinger Website Builder: Ideal for beginners, this easy-to-use drag-and-drop builder allows you to create a professional website without any coding knowledge.
Choose the platform that suits your needs, follow the onboarding steps, and start customizing your site.
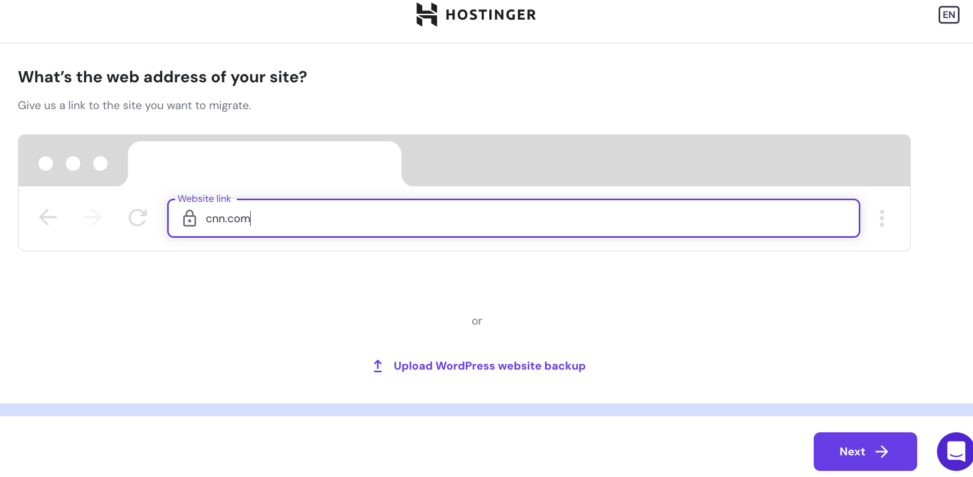
Migrate Your Website
If you already have a website hosted elsewhere, Hostinger offers a free website migration service. Simply select the “Migrate a Website” option during the onboarding process, and Hostinger will guide you through the necessary steps. The migration typically takes up to 48 hours to complete, and Hostinger will notify you once it’s finished.
Purchasing hosting on Hostinger is simple. Follow these steps:
1. Visit the Hostinger website and choose a hosting plan.
2. Select the hosting period.
3. Create a Hostinger account.
4. Complete your payment using your preferred method.
Hostinger accepts various payment methods, including credit cards (Visa, MasterCard, etc.), PayPal, and e-wallets such as Google Pay, Apple Pay, and AliPay. Choose the payment method that works best for you and complete the transaction securely.
When comparing Hostinger’s hosting options, Cloud Hosting generally offers the best speed due to its use of multiple servers. However, if you’re just starting out or have a smaller website, Hostinger’s shared hosting plans with LiteSpeed servers are also highly optimized for speed.
Conclusion
Buying hosting from Hostinger is a seamless experience, whether you’re a first-time user or a seasoned website owner. By following the simple steps outlined in this guide, you can have your website up and running in no time. Remember to choose the right hosting plan for your needs, select the optimal payment period, and complete the checkout process securely.
Once your hosting plan is active, Hostinger provides everything you need to either create a new website or migrate an existing one, ensuring your site is fast, secure, and always accessible to your audience.
Ready to get started? Head over to Hostinger, choose your hosting plan, and begin building your online presence today!
